Wanderer User Guide
Modular & Customizable Game-Ready Asset
Quick start
- Open the project. It starts in Demo/Maps/Map_WandererDemo.
- Press Play. Move with WASD, look with the mouse, jump with Space.
- To see every version side by side, open Maps/WandererPreviewMap.
What is where
Everything lives in one folder, WandererCharacter.
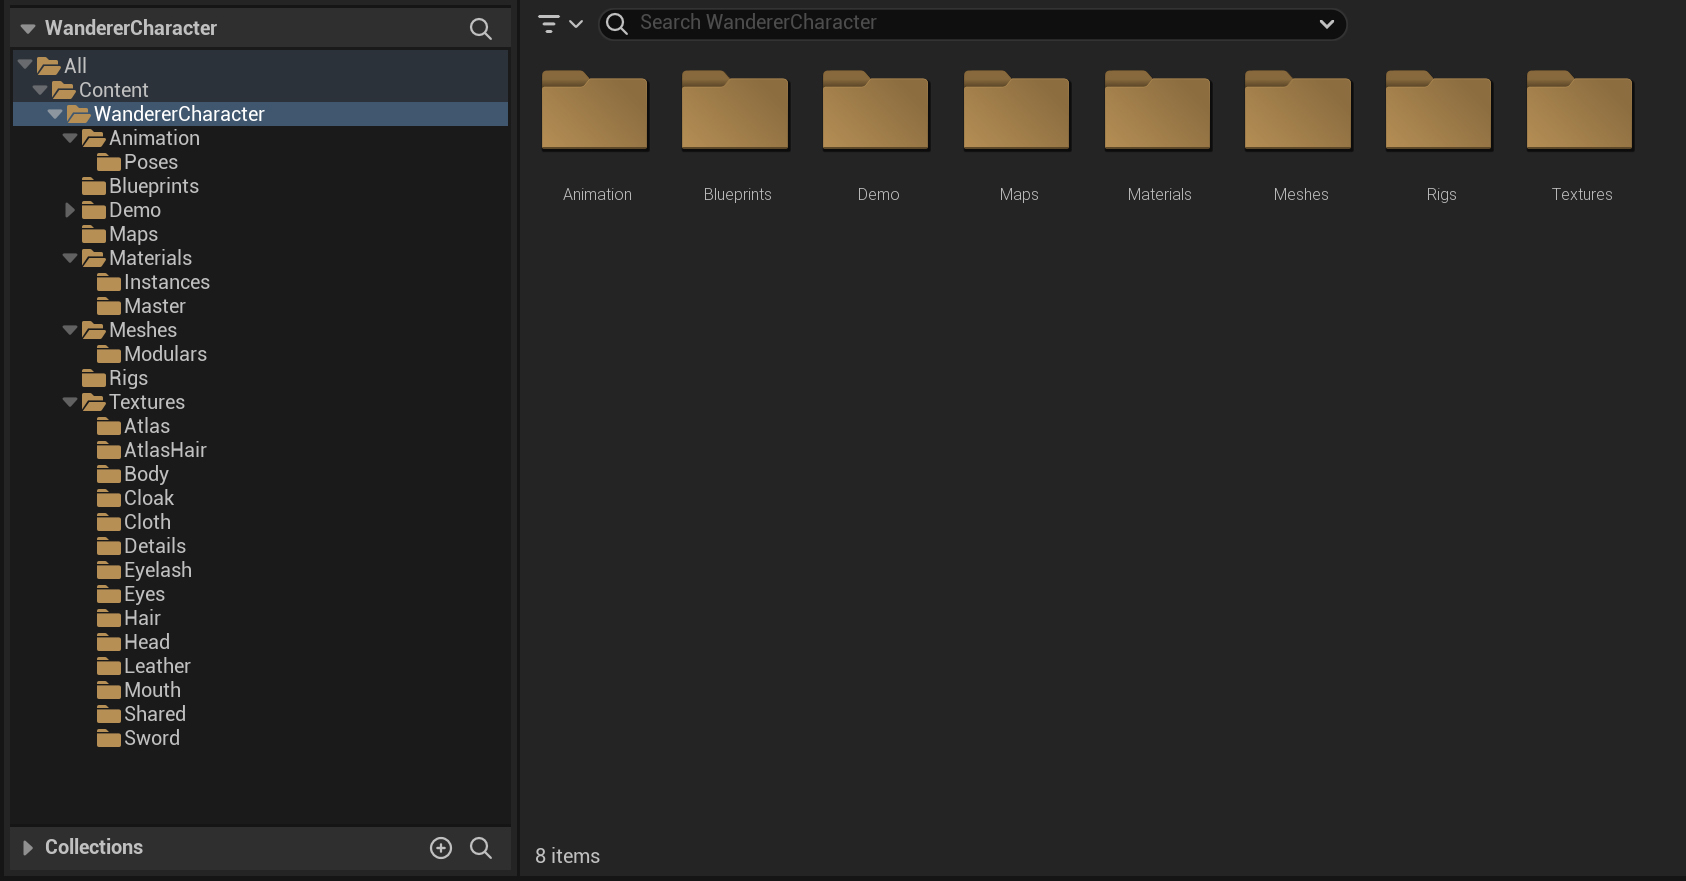
| Folder | What's inside |
|---|---|
| Blueprints | Playable characters and preview actors you can drop in a level. |
| Meshes | The one-piece and atlas meshes, and the skeletons. |
| Meshes/Modulars | Every separate part (head, shirt, boots, cloak…) with its physics asset. |
| Materials/Master | The master materials. You don't need to open these. |
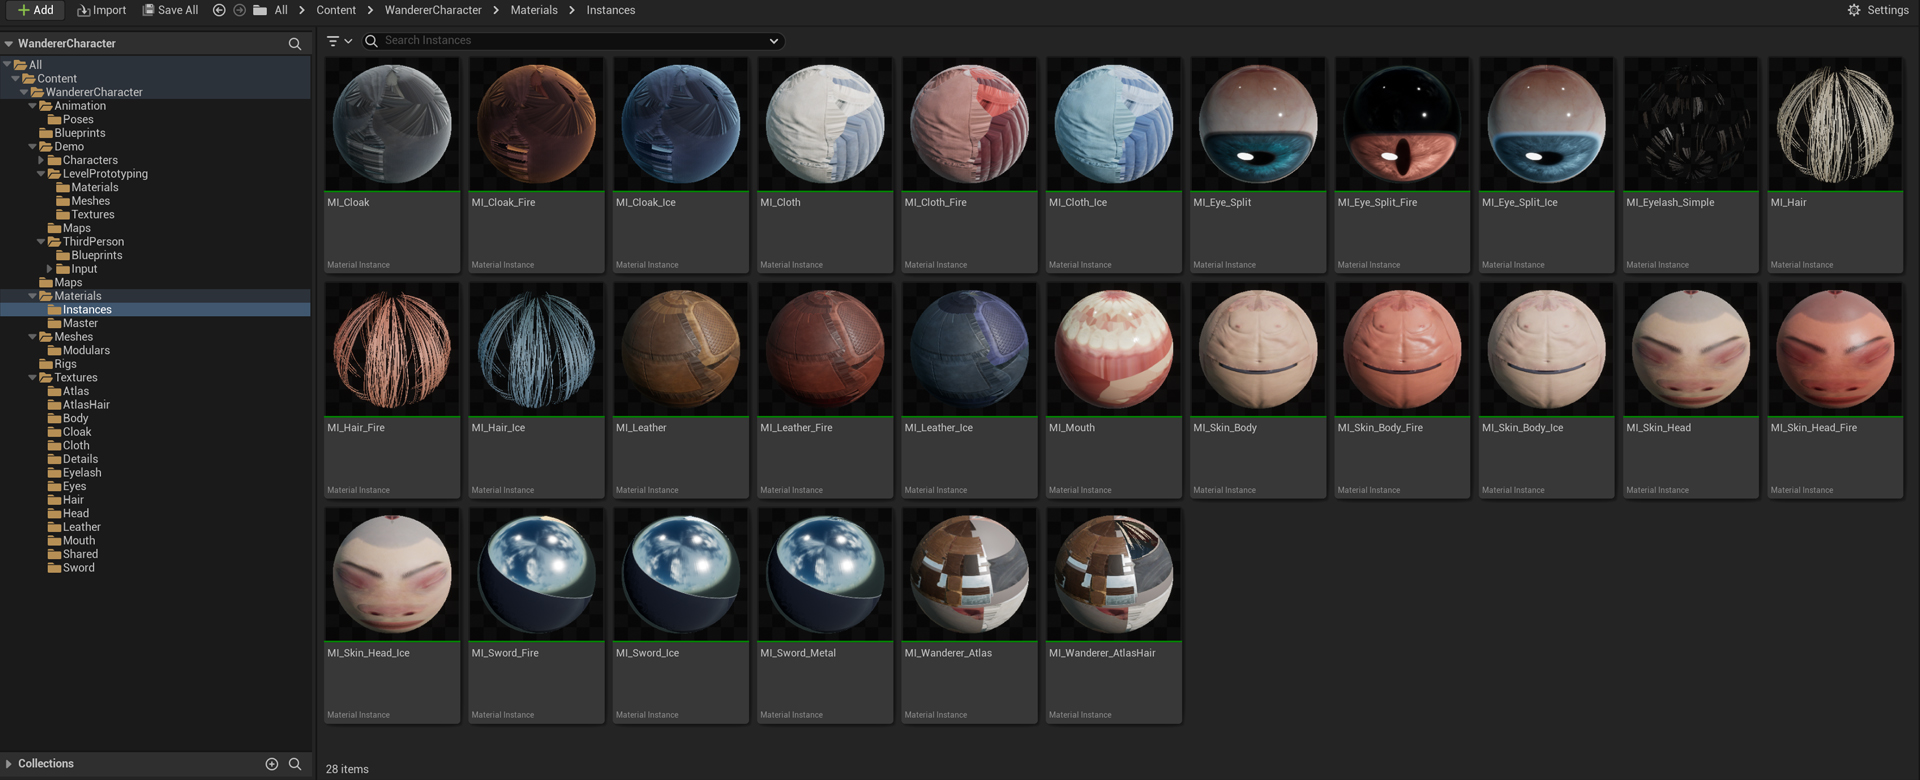
| Materials/Instances | The instances on the character. This is where you change colours. |
| Textures | Textures, one folder per material (Body, Cloth, Hair…), plus Details for pores, sweat and blood. |
| Animation | The Animation Blueprints, walk/run/jump animations and 4 poses. |
| Rigs | Control Rigs, IK Rig and Retargeter for using other UE5 animations. |
| Maps | The preview map. |
| Demo | The playable demo map and Epic's Third Person template files it uses. |
Ready characters
| Blueprint | Type | Use it for |
|---|---|---|
| BP_WandererCharacter | Character | The playable modular Wanderer. Swap or remove any part. |
| Demo/…/BP_ThirdPersonCharacter | Character | The same character with a simulated cloth cloak (Chaos Cloth). Used in the demo map. |
| BP_WandererAtlasCharacter | Character | Playable, one mesh and one material, no hair. The lightest version. |
| BP_WandererAtlasHairCharacter | Character | As above, with hair, still one material. |
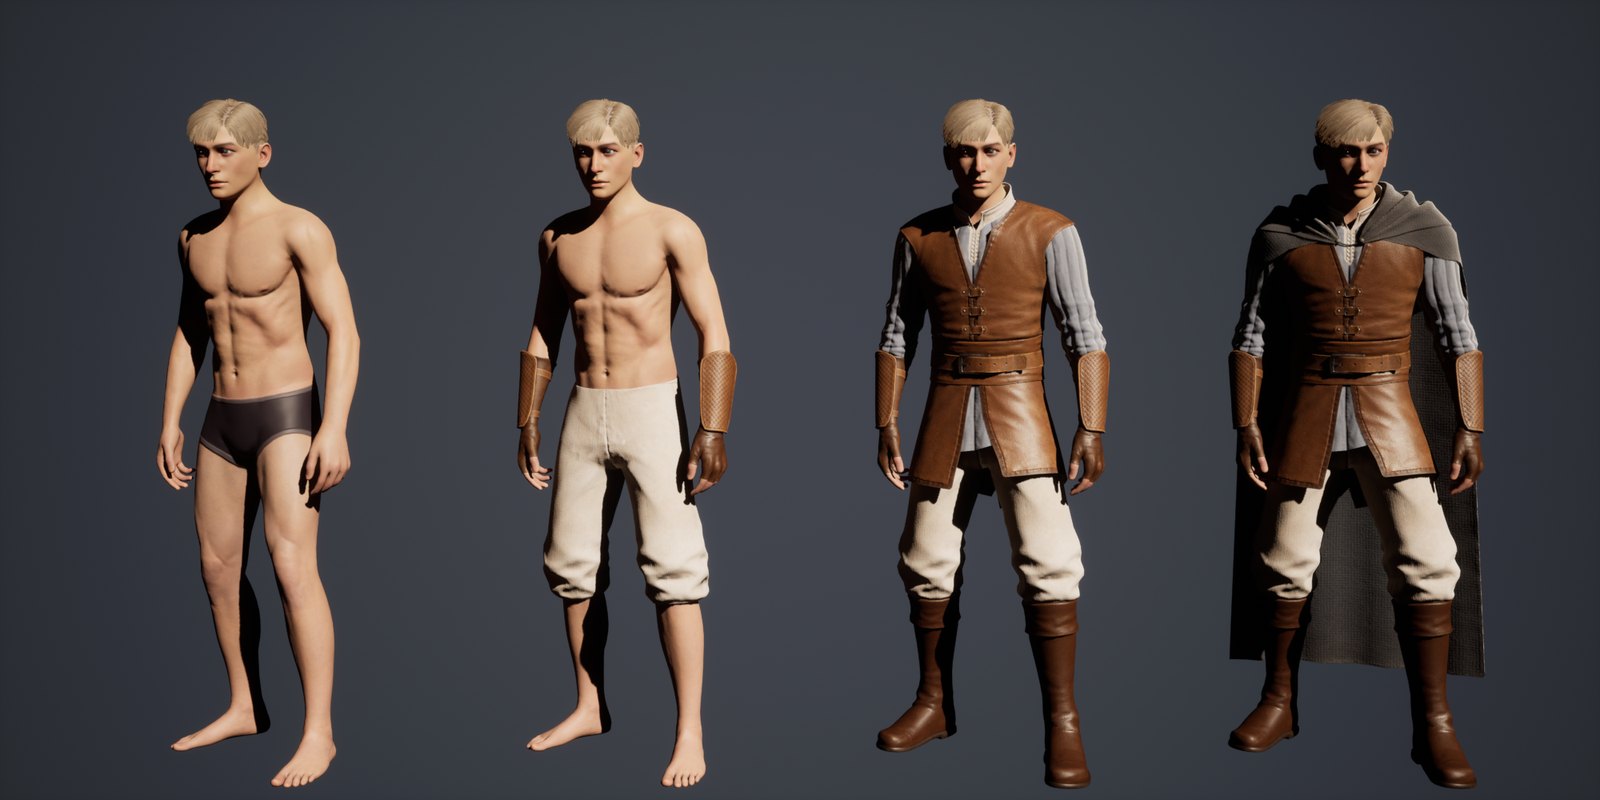
| BP_WandererClothPreview | Actor | For scenes and renders: clothed, with the cloak. |
| BP_WandererHalfClothPreview | Actor | For scenes and renders: shirtless, with pants and gloves. |
| BP_WandererNakedPreview | Actor | For scenes and renders: the bare body. |
- Character: a playable pawn with a collision capsule, movement and controls. To play as one, drop it in your level and set Pawn › Auto Possess Player to Player 0 in Details, or make it the Default Pawn in your Game Mode.
- Actor: a character you place for scenes, renders and screenshots. It animates (idle and face) but can't be controlled and doesn't move by itself.
How modular works
The modular Wanderer is several meshes that move as one. The head is the main mesh: it runs the animation. Every other part copies the head's pose, so all parts always move together.
Swap a part
- Open BP_WandererCharacter (or your copy of it).
- Select the part in the Components panel, for example SK_Wanderer_HairCards.
- In Details, set Skeletal Mesh Asset to another mesh, for example SK_Wanderer_HairCardsLow.
Remove a part
Easiest: select it and clear Skeletal Mesh Asset (set it to None). If you delete the component instead, open the Construction Script and remove it from the Set Leader Pose Component node too, or the Blueprint won't compile.
Add a part
Add a Skeletal Mesh component under the head, pick the mesh, and connect it to the Set Leader Pose Component node in the Construction Script (Target pin).
The parts
| Part | Mesh |
|---|---|
| Head (main) | SK_Wanderer_Head · face, eyes, mouth, lashes |
| Hair | SK_Wanderer_HairCards · or the lighter SK_Wanderer_HairCardsLow (about a third of the polygons) |
| Clothes | SK_Wanderer_Shirt SK_Wanderer_Top SK_Wanderer_Pants |
| Leather | SK_Wanderer_Glove SK_Wanderer_Boots |
| Hands | SK_Wanderer_Hands |
| Cloak | SK_Wanderer_Cloak (moved by bones) · SK_Wanderer_CloakSim (cloth simulation) |
| Bare body | SK_Wanderer_BaseBody SK_Wanderer_UpperBody SK_Wanderer_LowerBody SK_Wanderer_LowerLegs · skin pieces that fill in when you take clothes off Check: which piece goes with which outfit |
Every part has its own physics asset (PA_) next to it, so traces and ragdolls work with any mix.
Adjusting materials
Each material has a master (the recipe) and instances (the settings). You only ever change instances.
- Right-click an instance in Materials/Instances › Create Material Instance. Work on that copy, so the original stays as it is.
- Open it. Tick the box next to a setting to change it. Untick it to go back to the default.
- Put your instance on the mesh: select the mesh component, Details › Materials.
Settings named Use … turn a whole feature on or off (for example Use Blood). Changing one takes a moment while Unreal rebuilds the shader. ORM Is sRGB must match the texture: leave it alone.
The settings that belong to a switch only show up once it's ticked on. For example, tick Use Sweat and the sweat settings appear under it. The panels below show each instance as it ships, so switched-off features show only their switch.
Skin · MI_Skin_Head, MI_Skin_Body
| To change | Use |
|---|---|
| Skin tone | Albedo Tint, Albedo Brightness, Saturation |
| Oily or matte | Roughness Brightness, Specular |
| Light through skin | Scatter |
| Pores up close | Use Pores, Pore Strength, Pore Tiling |
| Soft peach fuzz | Fuzz, Fuzz Color |
| Sweat | Use Sweat, Sweat Amount, Droplet Amount · runs down the skin: Use Sweat Drips, Sweat Drip Reach |
| Blood | Use Blood, Blood Amount, Blood Color, Blood Dryness · drips: Use Blood Drips, Blood Drip Amount / Size / Reach |
| Underwear colour (body only) | Pants Color |
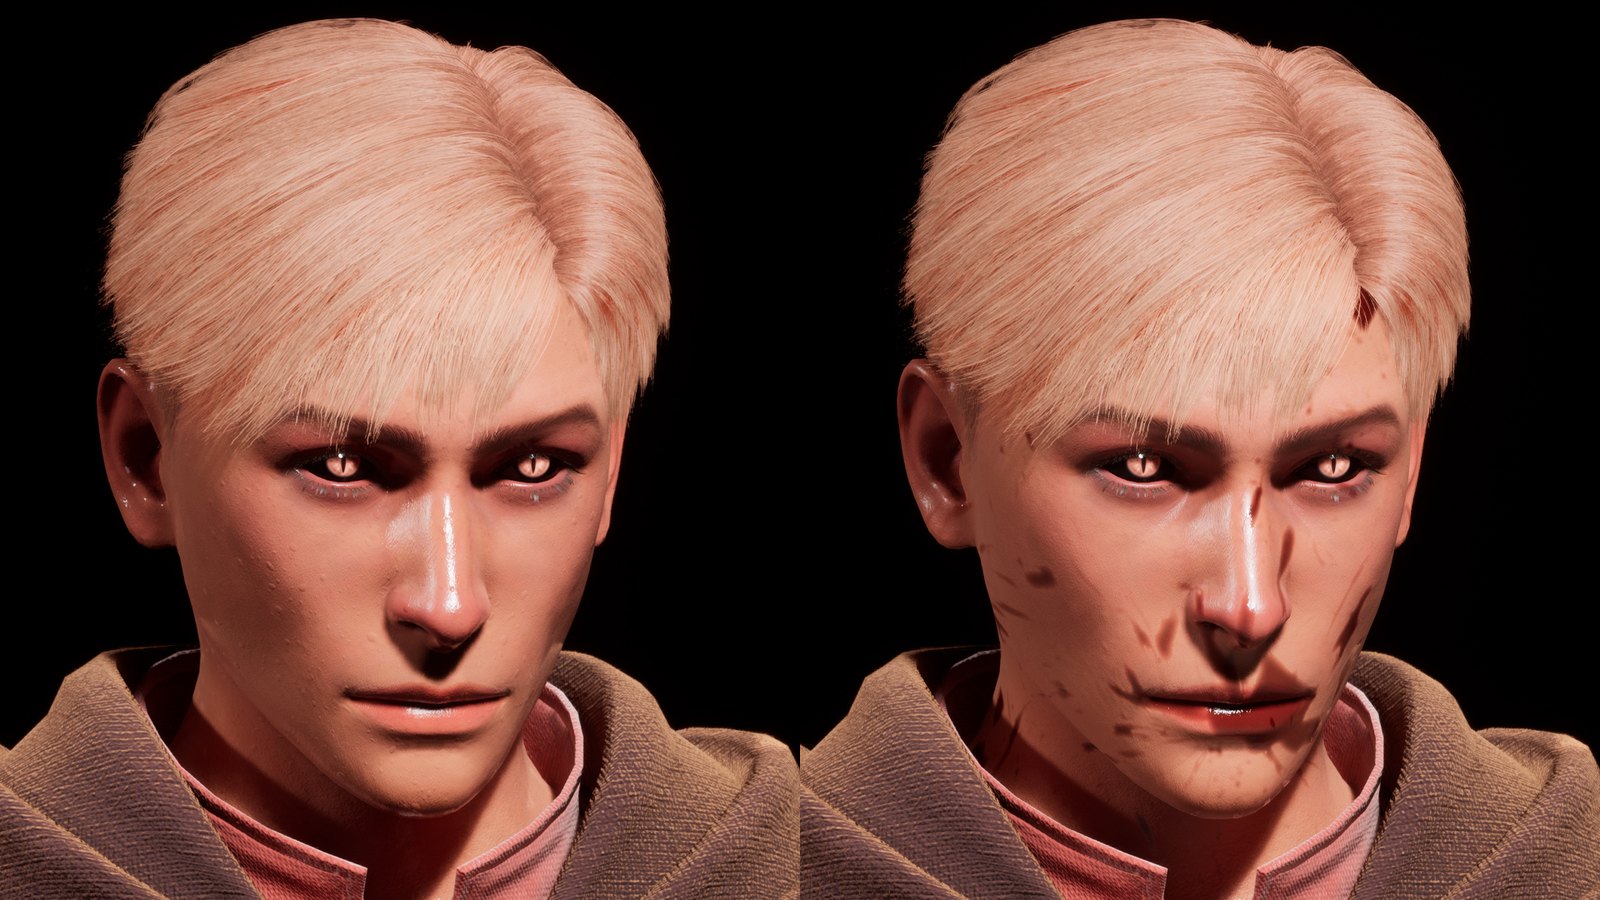
See the panels in Unreal
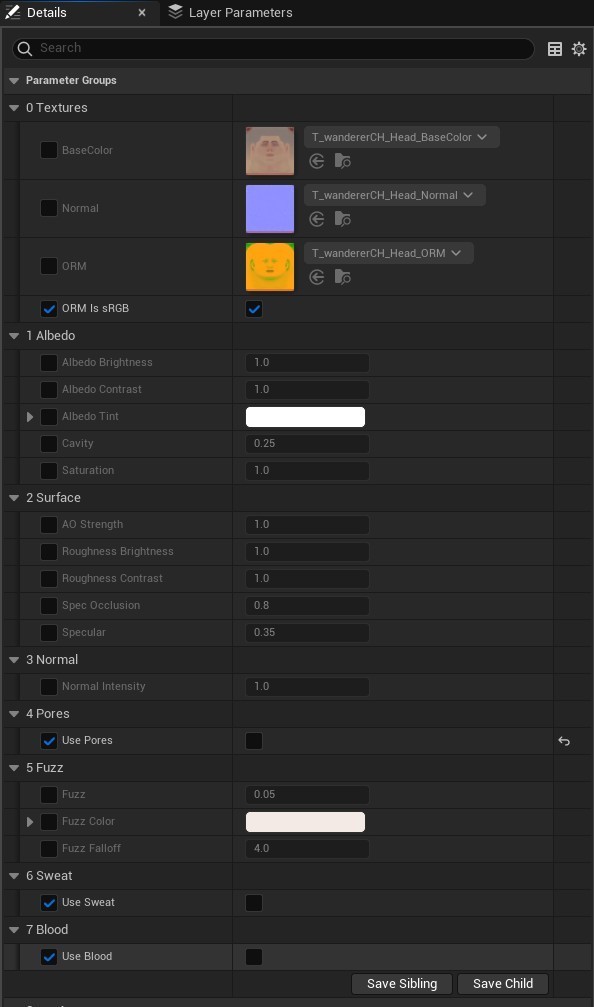
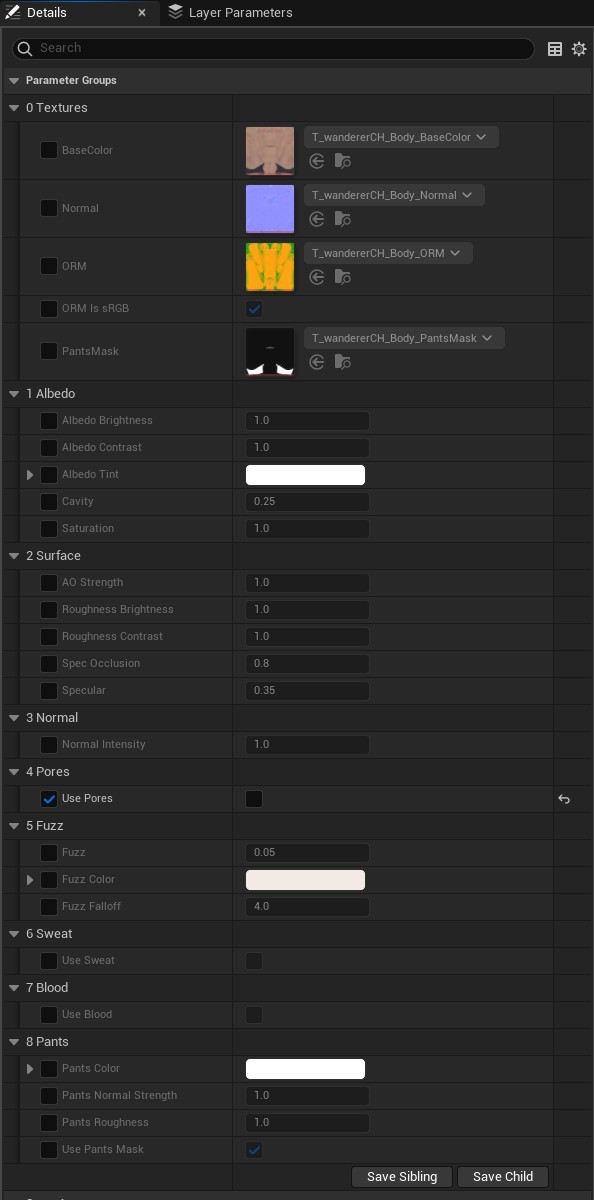
Cloth · MI_Cloth
| To change | Use |
|---|---|
| Colours per piece | Top Color, Pants Color (needs Use Part Mask on) |
| Padded gambeson layer | Use Gambeson (off = plain shirt) |
| Soft fabric shine | Sheen Strength, Sheen Color |
| Weave close up | Use Detail, Detail Strength, Detail Tiling |
See the panel in Unreal
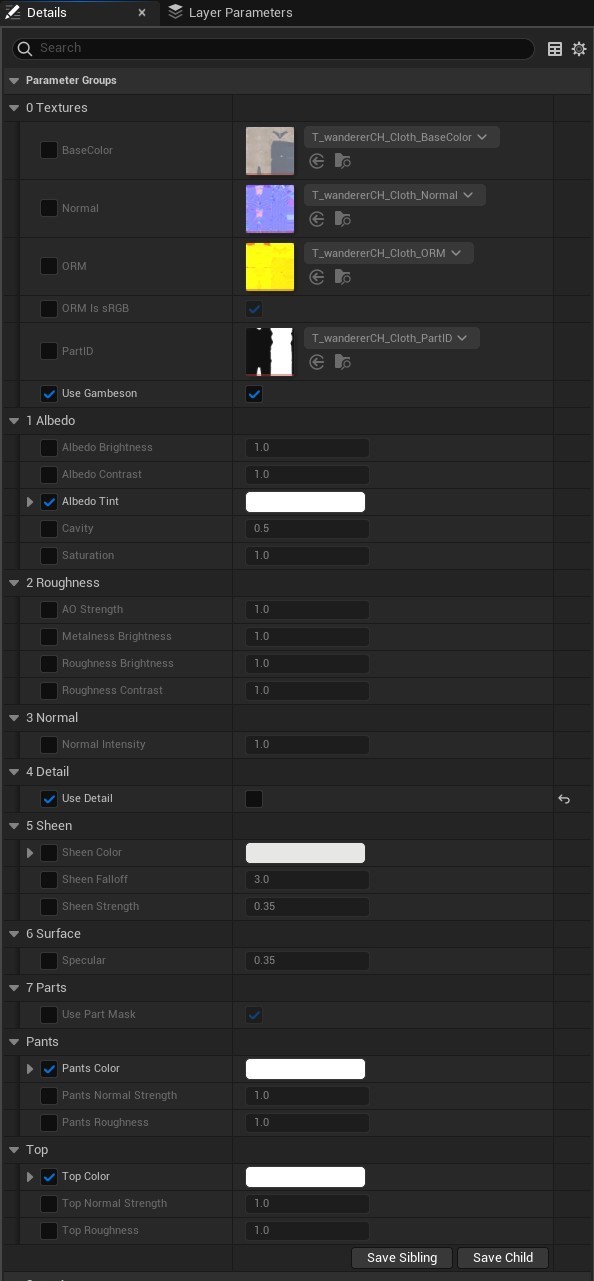
Leather · MI_Leather
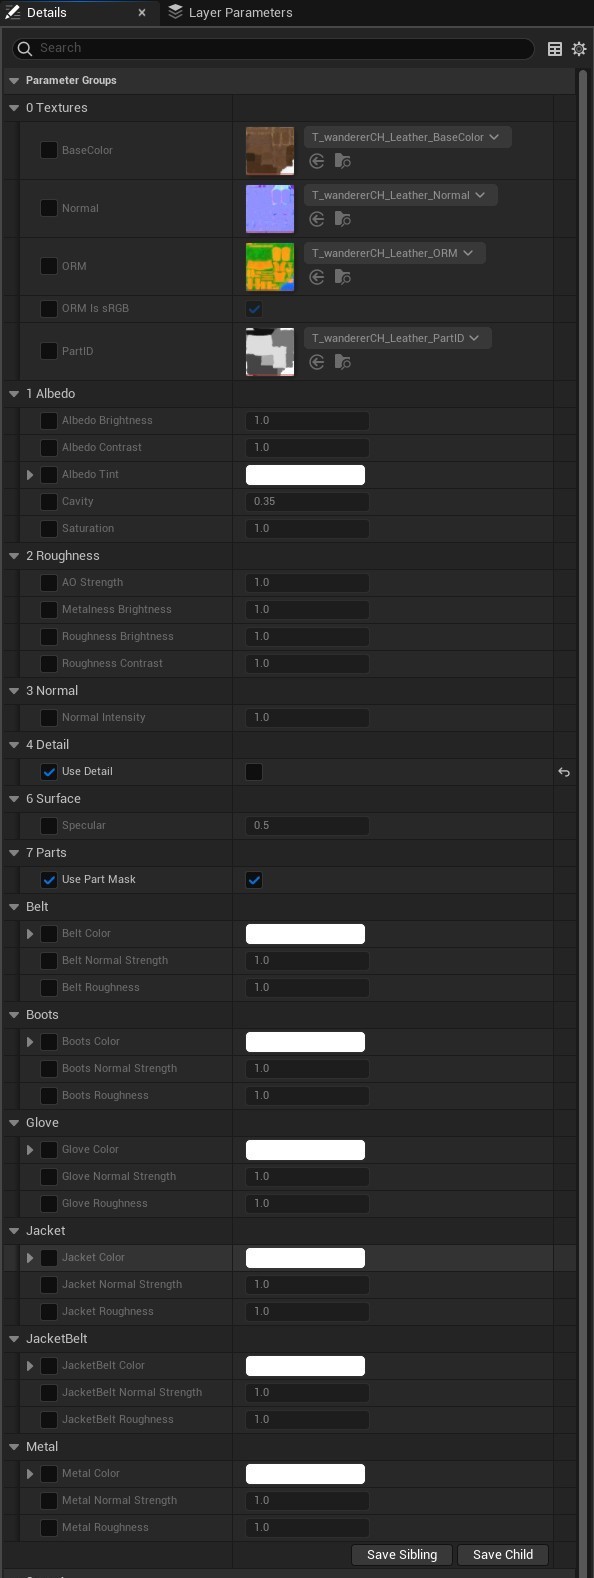
Each leather piece has its own colour, roughness and normal strength: Jacket, JacketBelt, Belt, Boots, Glove and Metal (buckles). For example, Boots Color and Boots Roughness. Use Part Mask must be on.
See the panel in Unreal
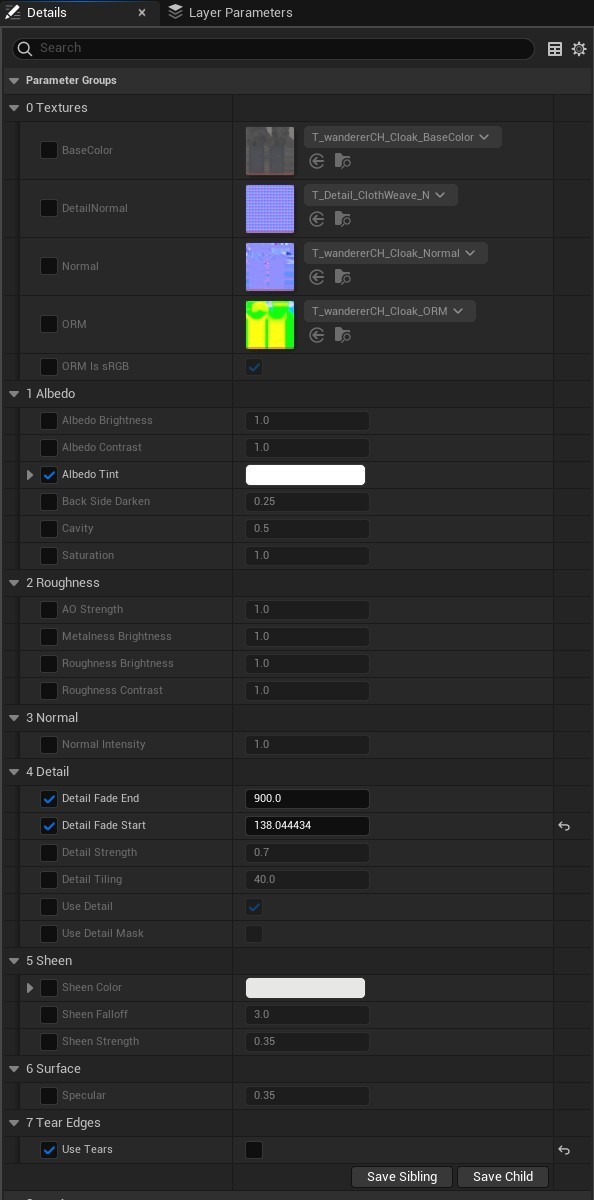
Cloak · MI_Cloak
| To change | Use |
|---|---|
| Colour | Albedo Tint, Saturation, Albedo Brightness |
| Darker inside | Back Side Darken |
| Torn, worn edges | Use Tears, Use Tear Edges, Fray Amount, Edge Darken |
See the panel in Unreal
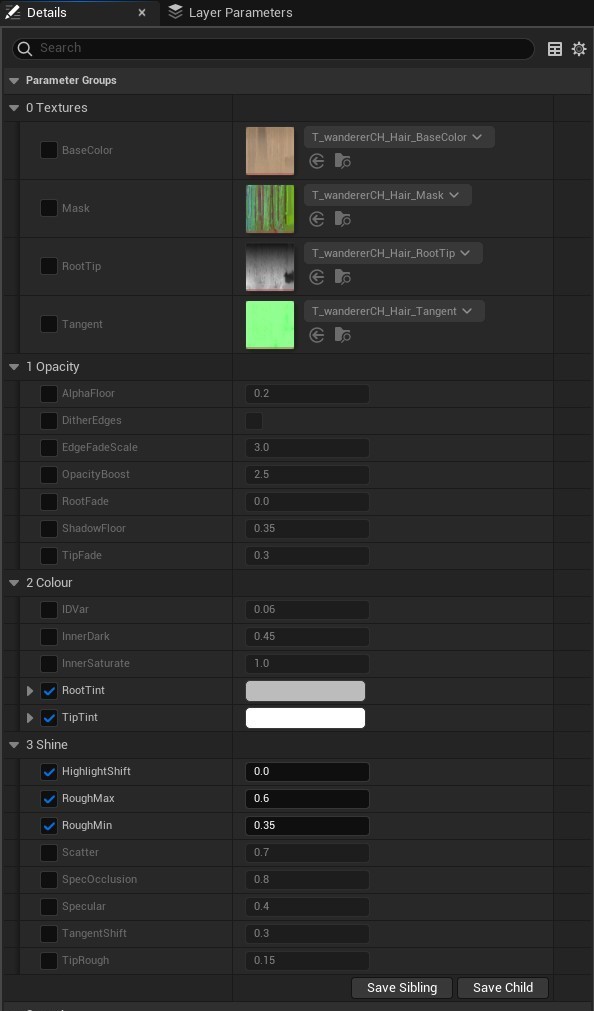
Hair · MI_Hair
| To change | Use |
|---|---|
| Hair colour | RootTint, TipTint |
| Thicker or thinner | OpacityBoost (thickness), TipFade (soft ends) |
| Shine | Specular, RoughMin / RoughMax, HighlightShift |
| Shadow from the hair | ShadowFloor (higher = lighter shadow) |
| Depth between strands | InnerDark |
See the panel in Unreal
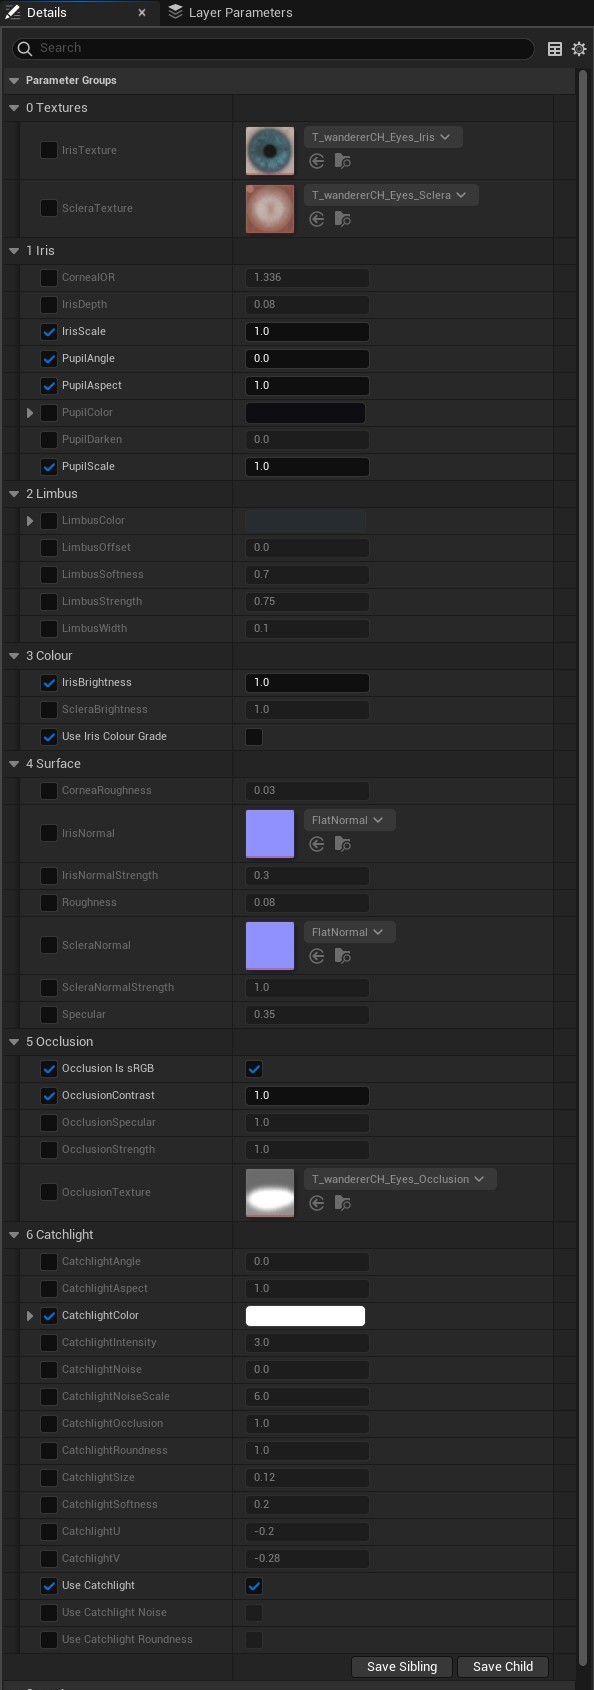
Eyes · MI_Eye_Split
| To change | Use |
|---|---|
| Eye colour | Use Iris Colour Grade, then IrisHue, IrisSaturation, IrisBrightness · or IrisColorize with IrisColorizeColor |
| Pupil | PupilScale, PupilColor |
| Dark ring around the iris | LimbusStrength, LimbusWidth |
| Light reflection | Use Catchlight, CatchlightIntensity, CatchlightSize |
See the panel in Unreal
Mouth, lashes, sword
- MI_Mouth: Tint, Brightness, Roughness.
- MI_Eyelash_Simple: LashColor, OpacityBoost (thickness), Cast Shadows.
- MI_Sword_Metal: Metal Color, Use Detail for scratches. Use Glow with Glow Low / Mid / High colours for hot or magic metal.
See the panels in Unreal
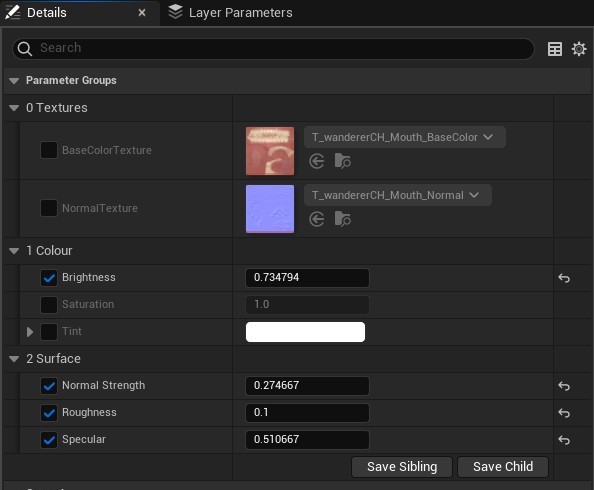
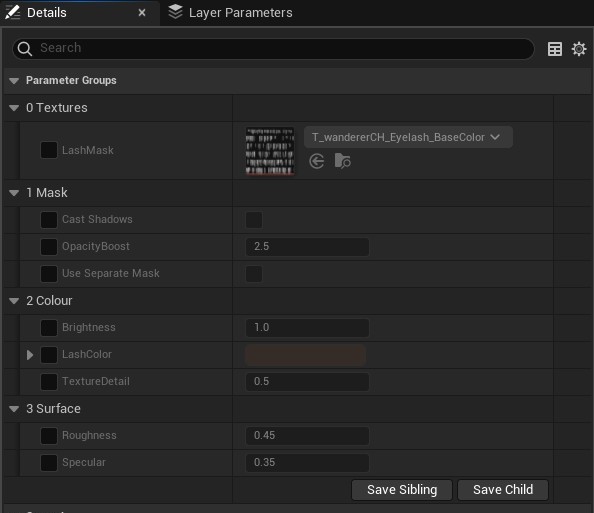
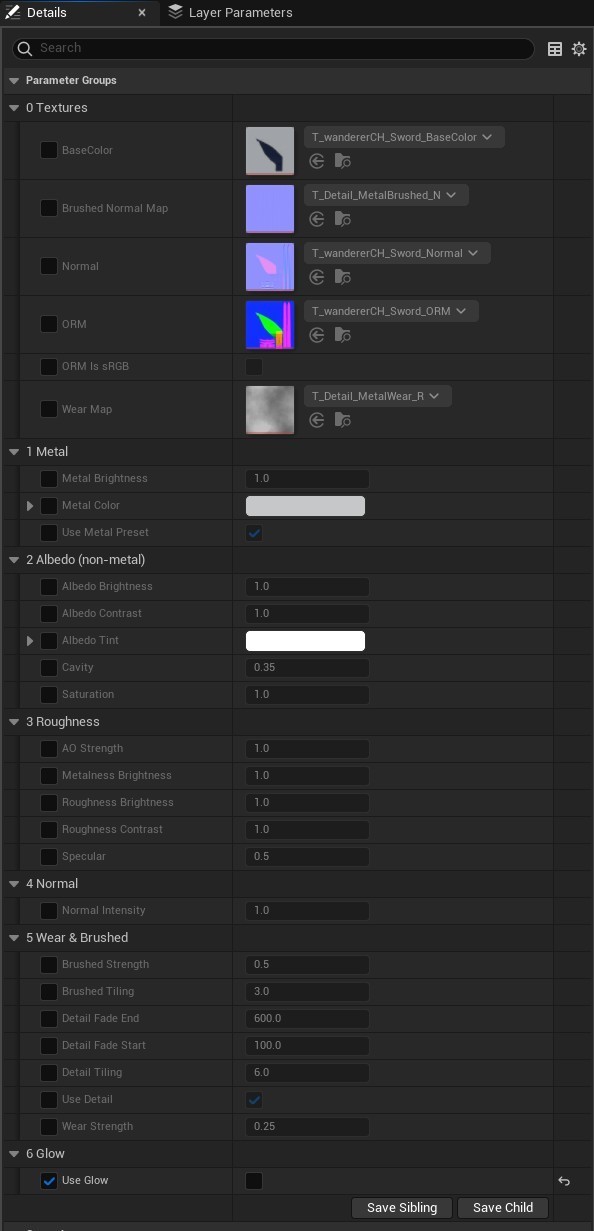
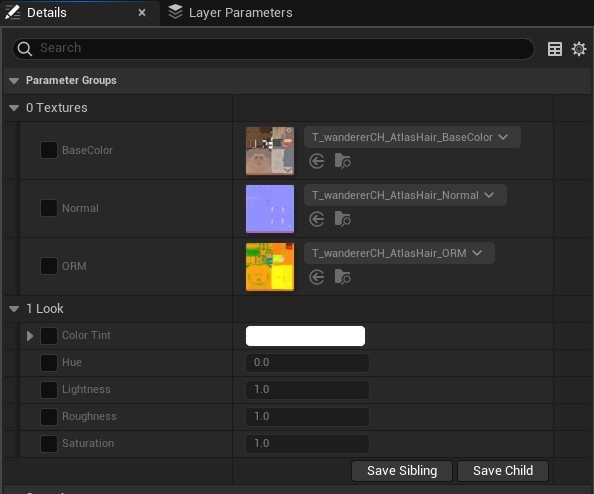
Atlas versions · MI_Wanderer_Atlas, MI_Wanderer_AtlasHair
One simple material for the whole character: Color Tint, Hue, Saturation, Lightness, Roughness.
See the panels in Unreal
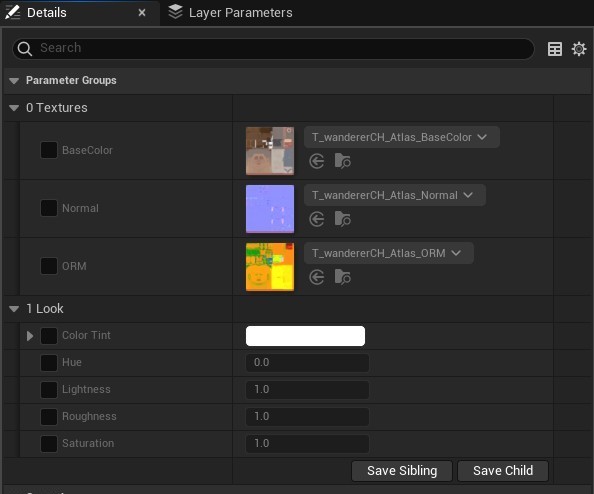
Fire & Ice looks
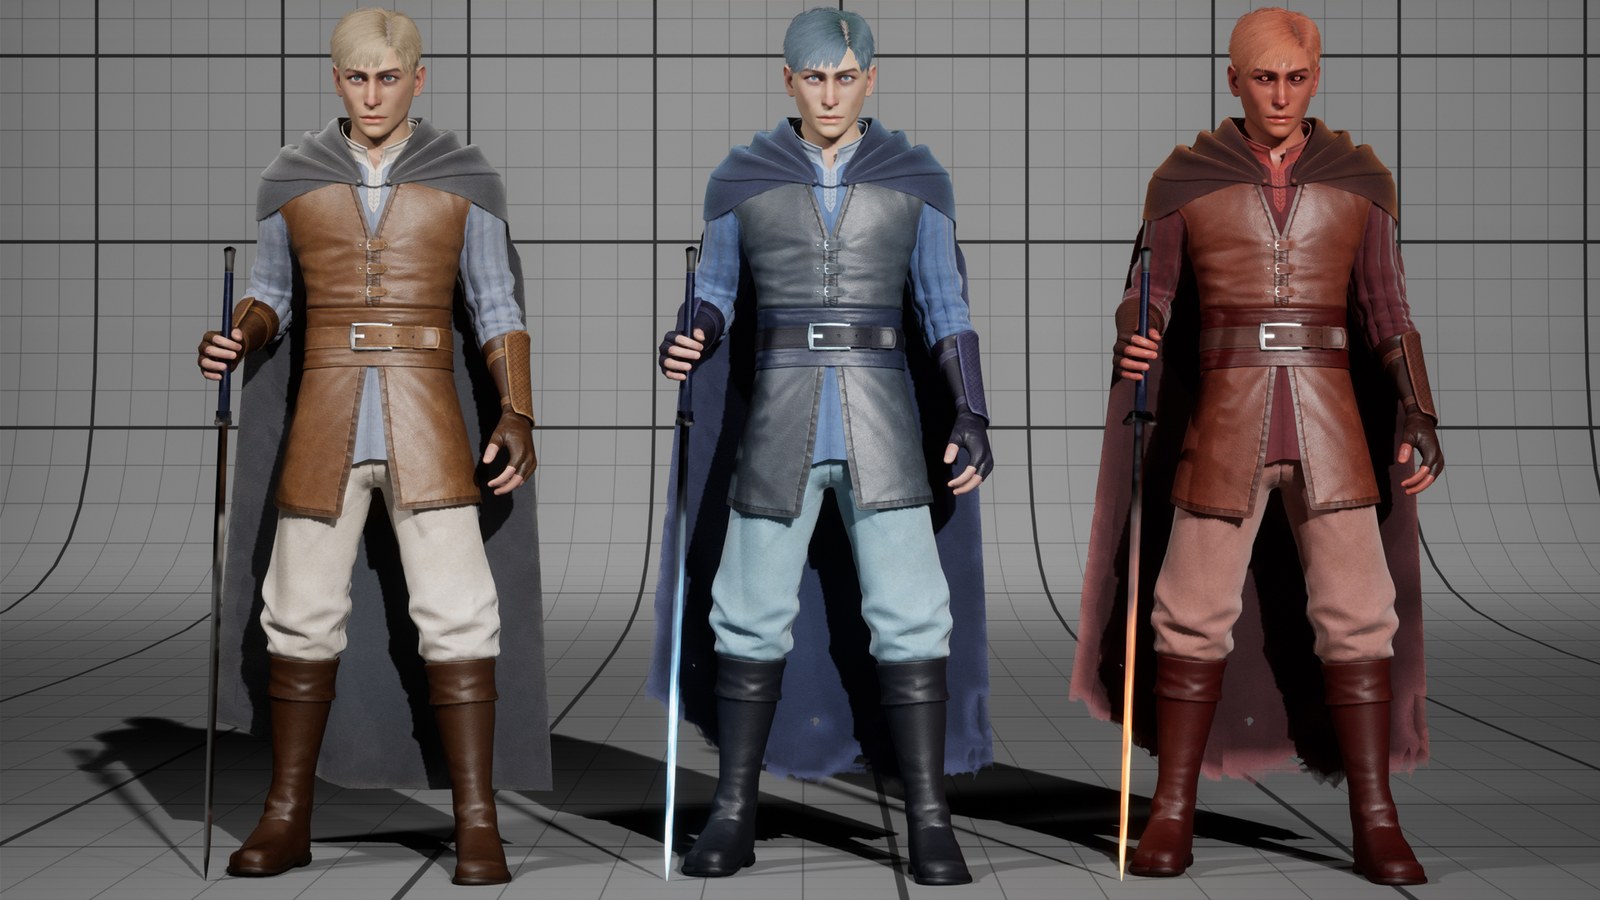
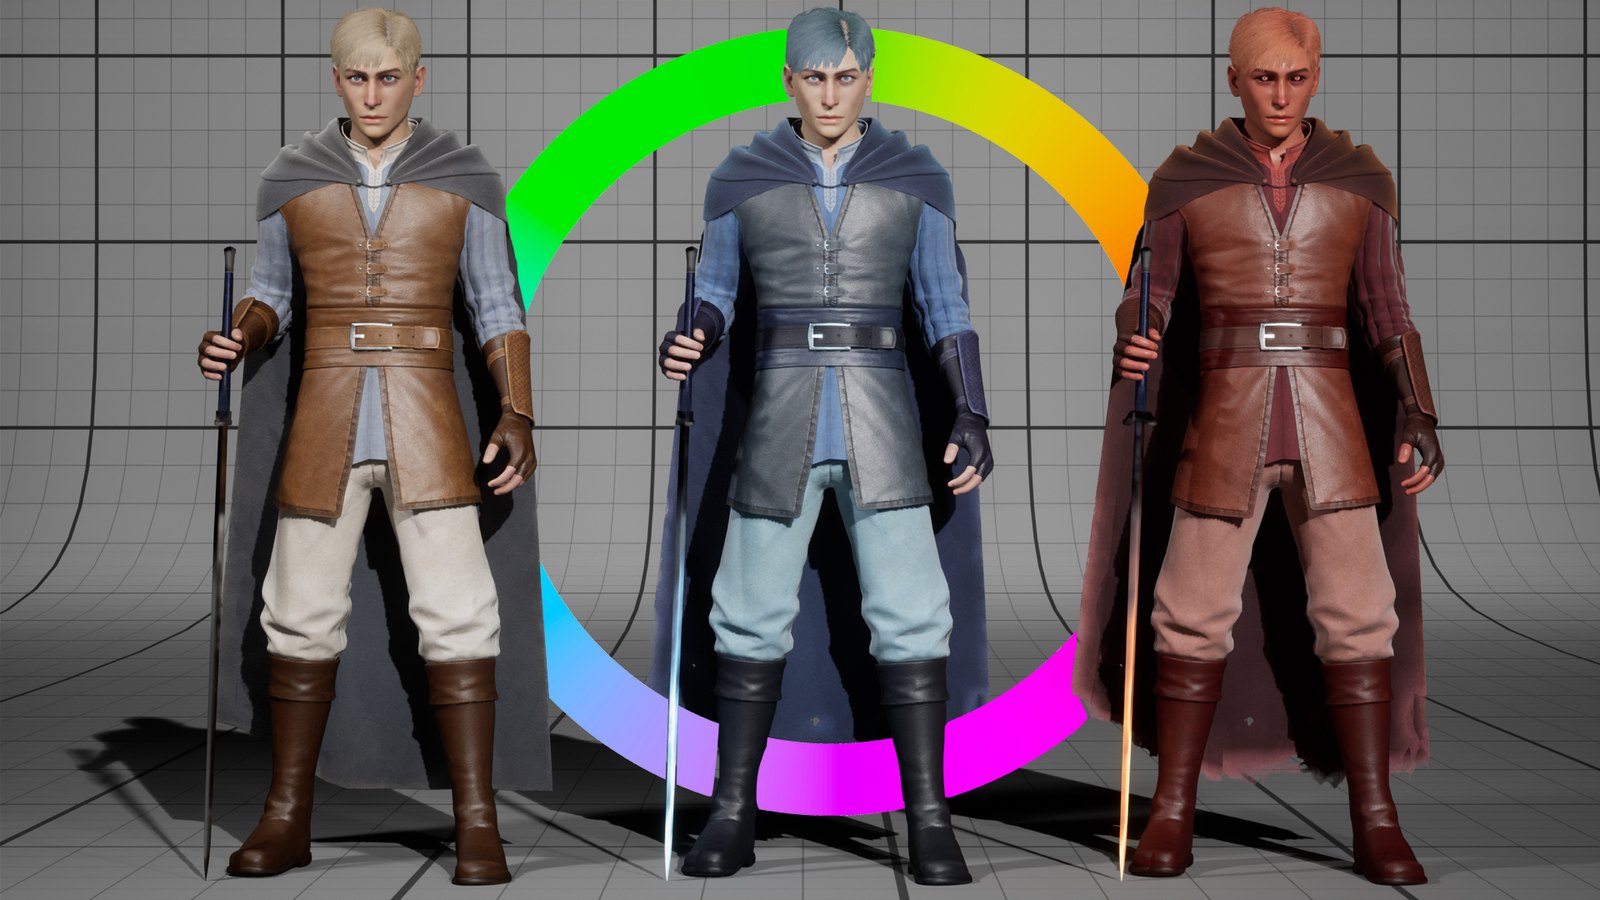
Two ready-made looks, each a full set of instances ending in _Fire or _Ice: skin, eyes, hair, cloth, leather, cloak and sword. To use one, put each part's matching instance on it (for example MI_Cloak_Ice on the cloak). WandererPreviewMap shows both. Use them as starting points for your own looks.
Animation & face
Body
- ABP_Wanderer runs the character: idle, walk, run, jump and land, with feet that stay on the ground (foot IK).
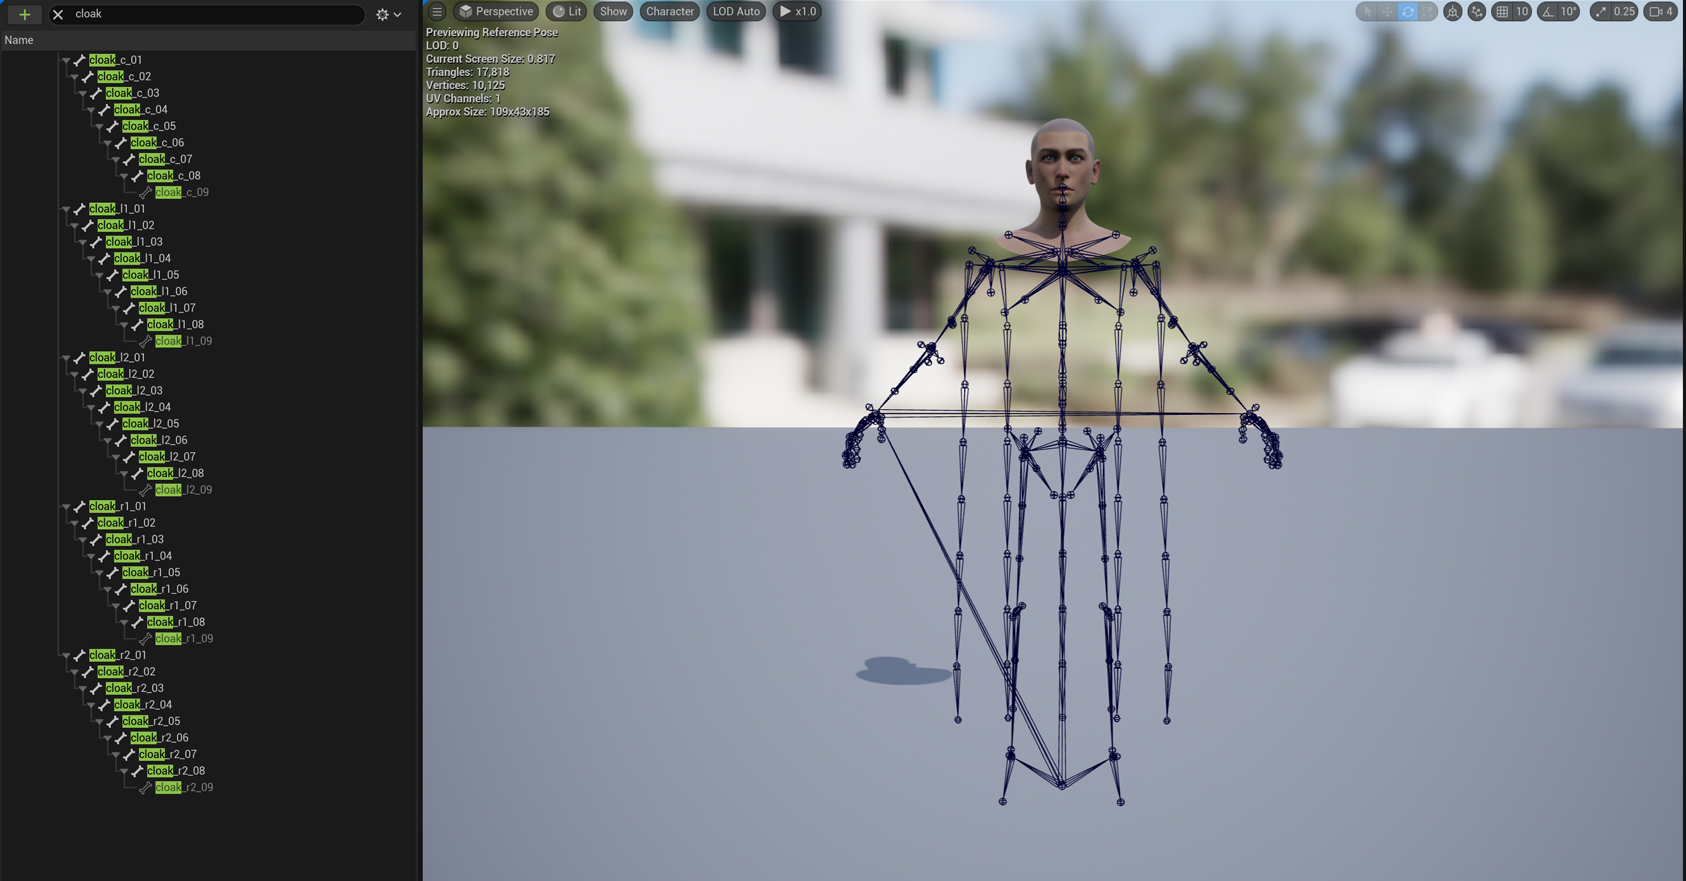
- The skeleton is the UE5 Mannequin skeleton with extra cloak bones. To use any UE5 Mannequin animation, retarget it with Rigs/RTG_Wanderer (right-click the animation › Retarget Animations).
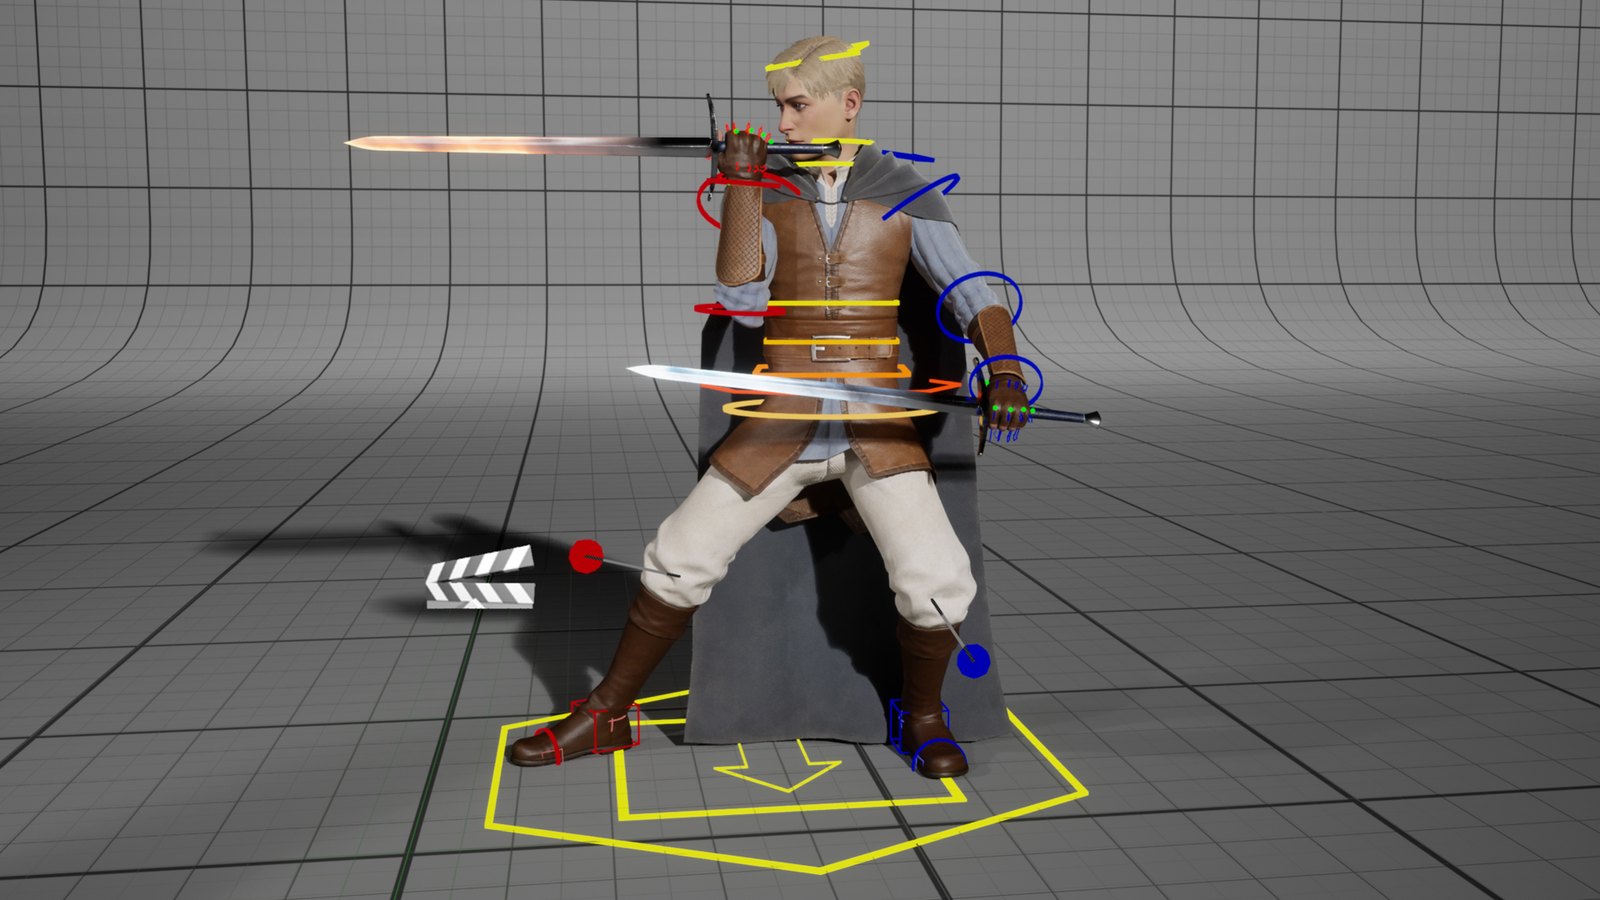
- Four still poses: A_Wanderer_Pose01–04, for screenshots and scenes.
Cloak
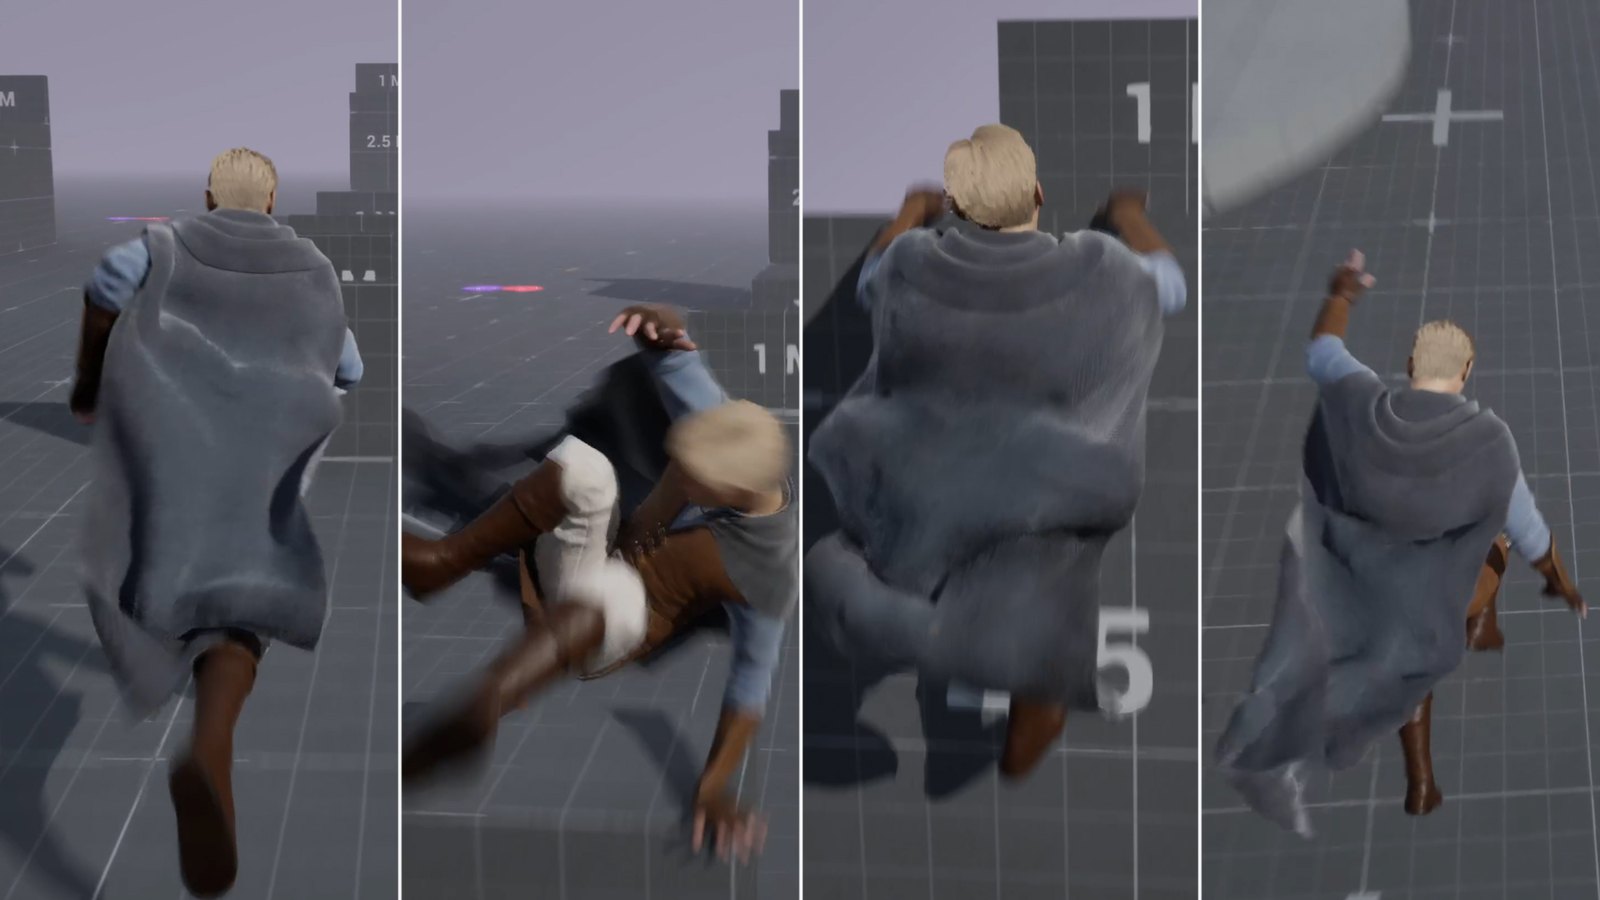
- SK_Wanderer_Cloak is moved by its bones (ABP_WandererCloak): cheap and stable.
- SK_Wanderer_CloakSim uses cloth simulation: more natural, costs more.
Face
The head has the 52 Apple ARKit blend shapes, so it can be driven live from an iPhone with the Live Link Face app:
- Install Live Link Face on an iPhone with Face ID and point it at your PC's IP address.
- In Unreal, open Window › Live Link and check that the phone shows up.
- Play or simulate: ABP_Wanderer drives the face. Check: where the user picks the phone's subject name
Head turn from the phone
With Stream Head Rotation on in the Live Link Face app, the phone also turns the head. The rotation is split between two bones, neck_01 and head, so the turn looks natural. It runs on the Character Blueprints.
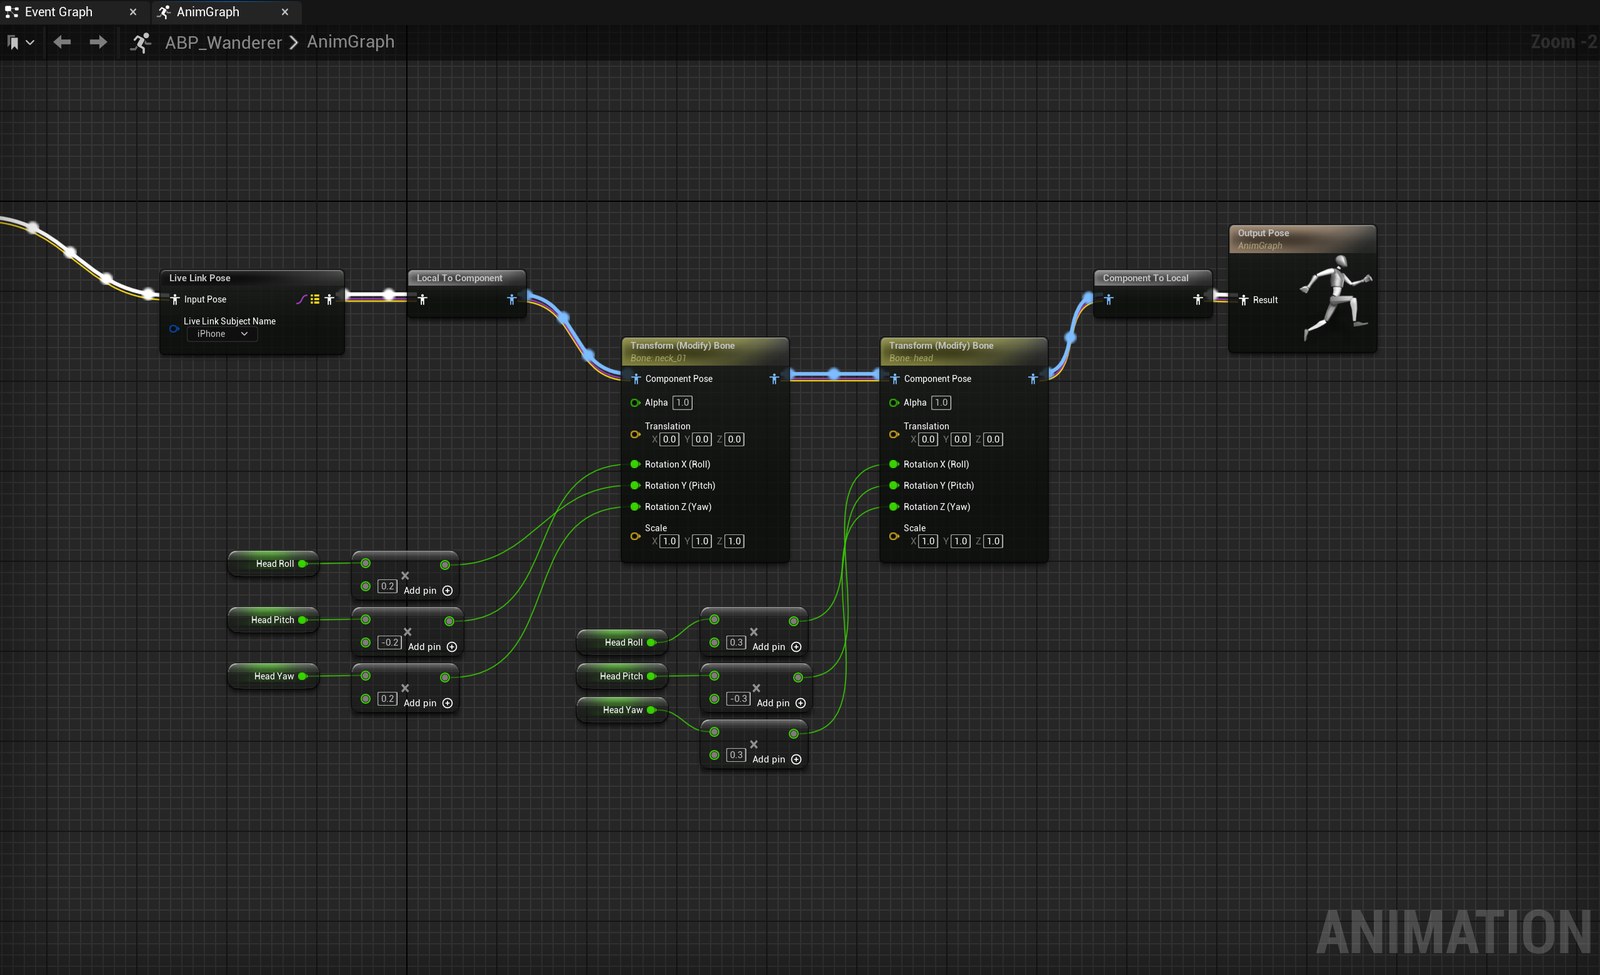
| Phone movement | Variable | Limit | Neck × | Head × | Max turn |
|---|---|---|---|---|---|
| Turn left / right | Head Yaw | ±60° | 0.2 | 0.3 | 30° |
| Nod up / down | Head Pitch | ±40° | −0.2 | −0.3 | 20° |
| Tilt side to side | Head Roll | ±30° | 0.2 | 0.3 | 15° |
Max turn = limit × (neck + head). The limits are the Clamp nodes in the Event Graph; the multipliers are the small number boxes in the AnimGraph (above).
| To make the head turn… | Change this in ABP_Wanderer |
|---|---|
| More or less (follows your head more or less closely) | AnimGraph: raise or lower the multipliers, e.g. head 0.3 → 0.5 for more. Keep the neck smaller than the head. |
| Farther (bigger maximum angle) | Event Graph: widen the Clamp nodes (e.g. yaw ±60 → ±80), and raise the multipliers if you want the extra range to show. |
| Smoother / slower | Event Graph: put an FInterp To before each Set Head… node (Current = the variable, Target = the clamped value, Delta Time = the event's Delta Time X, Interp Speed ≈ 8). Lower speed = slower and smoother. |
| Faster / snappier | It already follows the phone instantly. If you added FInterp To, raise its Interp Speed. |
| The wrong way (e.g. nods down when you nod up) | AnimGraph: flip the sign of that axis's two multipliers (−0.3 ↔ 0.3). |
| Not at all (face only) | AnimGraph: set Alpha to 0 on both Transform (Modify) Bone nodes. Or just turn off Stream Head Rotation in the app. |
Compile and save the ABP after each change. To get the head turn on the preview Actors too, open the Event Graph and connect the Character node's Is Not Valid pin to Evaluate Live Link Frame.
Which version to use
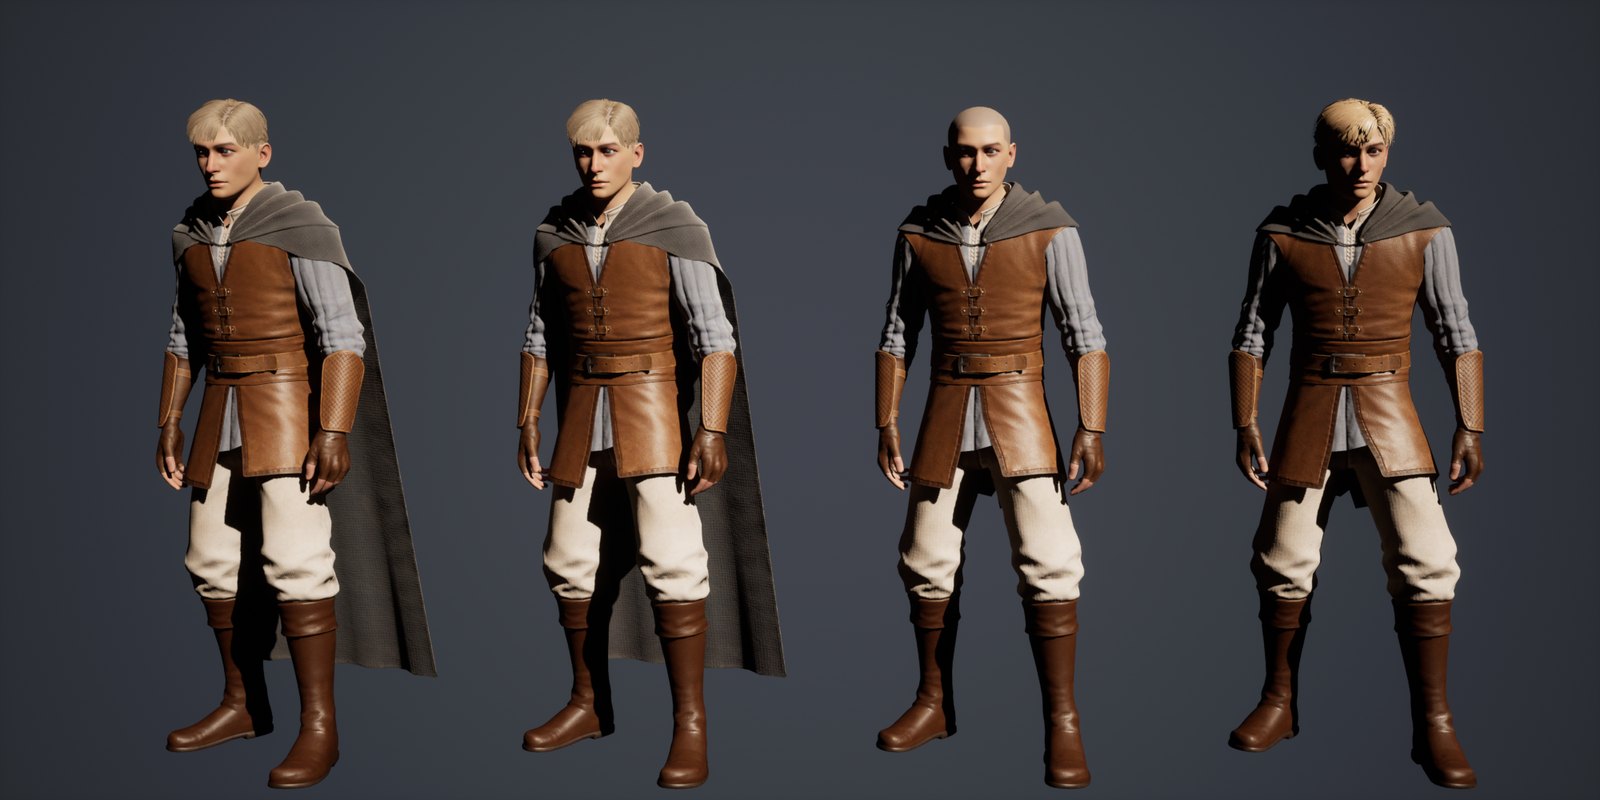
They look the same from a distance. The atlas versions wear the short mantle without the long cape.
| Version | Good for | Draw calls |
|---|---|---|
| Modular | Customising: swap, hide or recolour parts. BP_WandererCharacter as it ships: head 4, leather top 2, every other part 1. | 13 12 without the cloak |
| One-piece | SKM_Wanderer_FullBody, FullCloth, FullClothCloak: the same look in one mesh. Same materials. | 6 / 8 / 9 |
| Atlas | One mesh, one 4K texture set, one material: crowds, background characters, lower-end devices. | 1 |
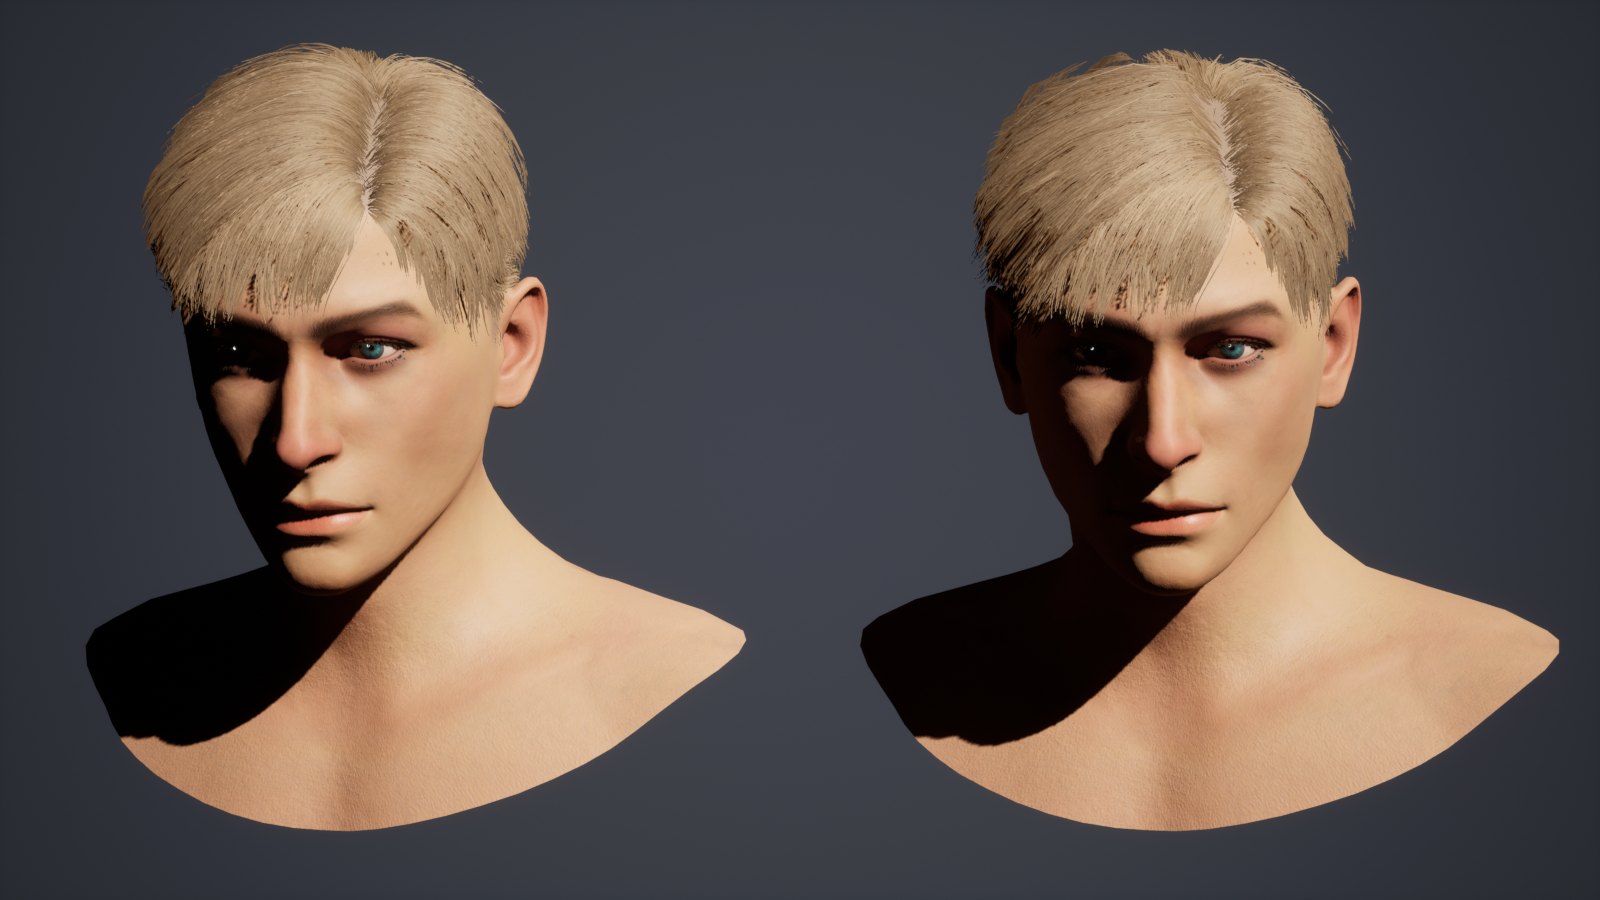
| Low hair | SK_Wanderer_HairCardsLow: about a third of the hair polygons, same material. | 1 same as the full hair |
Draw calls are counted per mesh section (one per material slot), measured in Unreal. Every section casts shadows, so each shadow-casting light draws the same number again.
Requirements
- Unreal Engine 5.1 or later.
- Plugins (on in this project): Control Rig (on by default in UE5); Live Link, Apple ARKit and ARKit Face Support for the live face.
- Extra bones beyond the UE5 Mannequin: 45 cloak bones, in 5 chains of 9: cloak_c, cloak_l1, cloak_l2, cloak_r1, cloak_r2 (each _01 to _09).